About ten years ago, I distilled video game development into three core skillsets (i.e., the triple threat):
- Art
- Music (and sound effects)
- Programming
I’ve always been interested in art (drawing, sculpting, and to a lesser extent, painting). I taught myself how to play simple melodies on a cheap Casio keyboard in my teens. I learned to use, repair and maintain personal computers in the early 90s out of necessity (I didn’t have much money, so my choices were to fix it or do without).
Eventually, I started entertaining the idea of combining my love of art, music, and computers to try my hand at making video games instead of just playing them. Thus began my journey of self-discovery.
Art
I’d always been able to draw relatively well by hand. I lightly scribbled rough shapes, then fleshed them out with strong lines. As technology became more accessible, I’d digitize my art using a flatbed scanner.
I even purchased a digital camera and some clay in the early 2000s to sculpt models and photograph them from different angles in much the same fashion as Adrian Carmack did for DOOM. I could never get the hang of 3D modeling or translate these analog skills into digital media. In time, I abandoned that track in favor of pixel art.
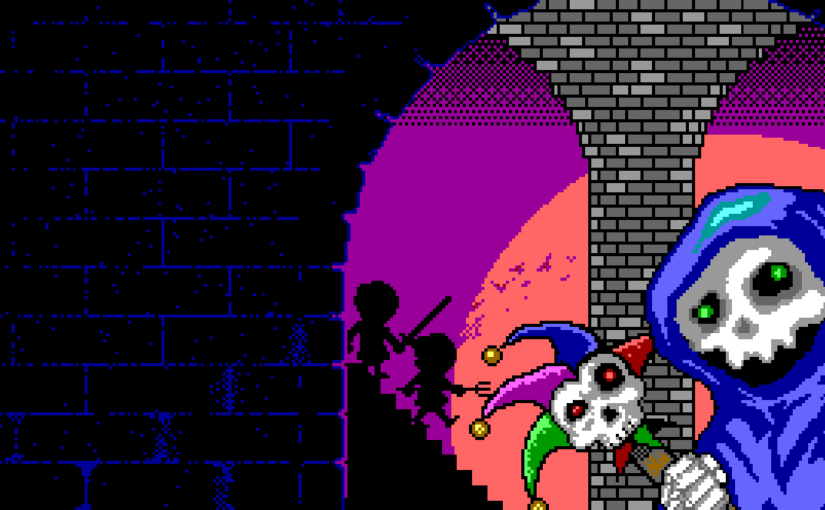
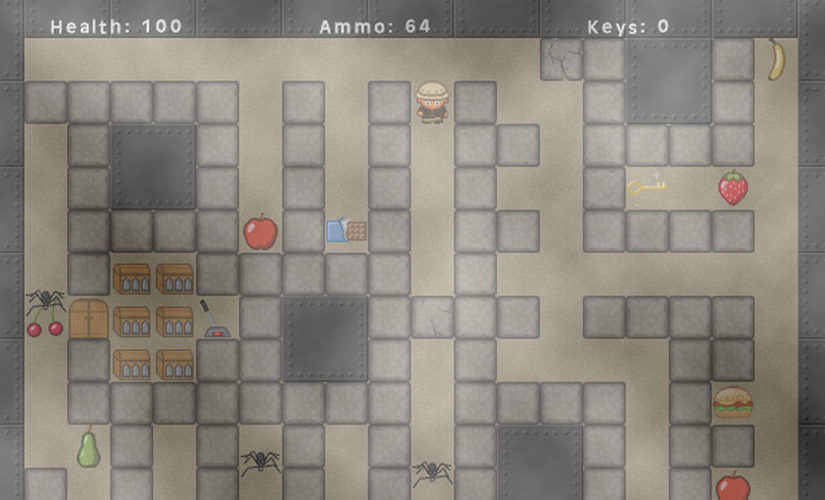
At first, I was terrible at it. But by studying examples, watching tutorials, and practicing, I developed proficiency using Pyxel Edit. I started with a 16-color EGA palette, then later expanded this to the 52-color NES palette.
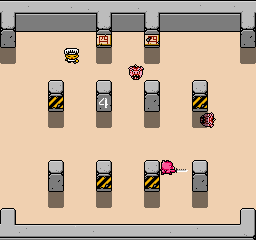
This has become my niche and primary medium for artwork creation. Tile sheets are relatively quick to make, which is important when you’re a one-man operation. There are 40 years of examples to draw upon for inspiration.
Music
I’ve been writing music for almost 30 years on the Amega Module format, beginning with tunes written on Fast Tracker II using samples ripped from other people’s files. Later, I sampled some high-quality instruments – these were used in the publication of my first album.
![]()
Unfortunately, the songs and samples used were lost to time, but I still have a 20-year backlog of my previous work, dating as far back as 1997, all written for games that existed only in my imagination.
These days, I use a Windows port called “Skale Tracker.” It’s based on FT2, can export to .WAV and .OGG formats, and supports up to 64 tracks (although I rarely need more than eight these days and write chip tunes with half that). I’ve mixed and mastered my exported works in Audacity and have been very satisfied with the results.
Programming
Programming has always been my biggest weakness. I’ve never been the kind of person who can read a book on a subject and put that knowledge into practice. At best, I can look at examples, then adapt those to my needs once I understand how.
Someone once told me that DOOM was programmed in C++ and that I could do likewise. I remember seeing a boxed copy of Borland Turbo C++ at the local Best Buy, retailing for $300. I remember thinking then that if only I had the money to buy it, I’d have everything I needed to program my own version of DOOM. I was woefully ignorant back then…
Many times over the years, I’d hoped to get around my limitations by using a game creation engine, my first exposure to this was around 1995. I’d gotten ahold of the Pie in the Sky Software’s 3D Game Creation System for MSDOS.
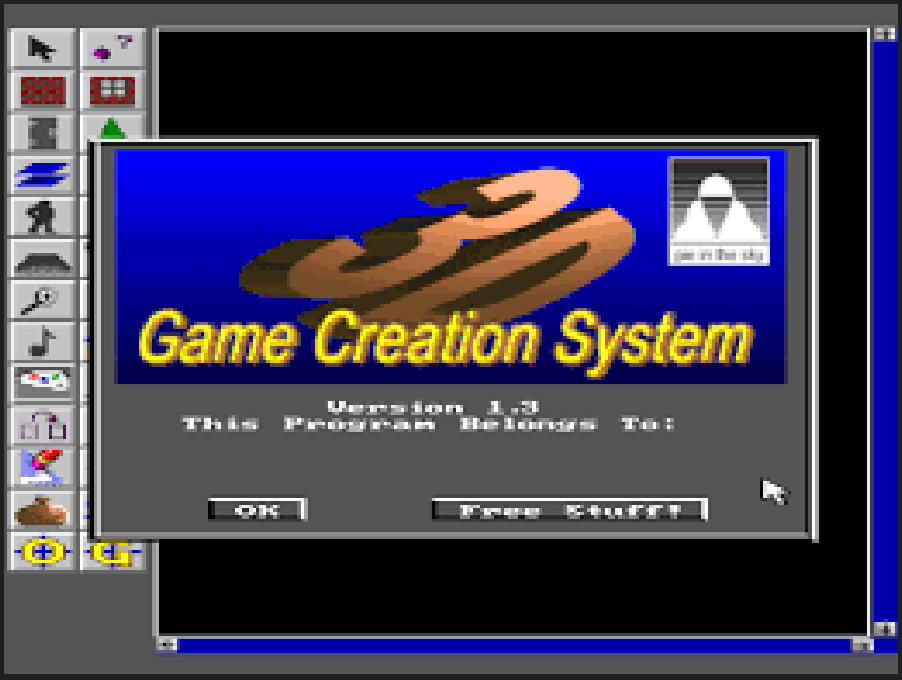
It was a 2.5D game engine capable of creating games slightly beyond Wolfenstein 3D (floor and ceiling textures, angled walls) but fell short of DOOM (no height variable). While I had limited success designing very simple levels, I didn’t understand its limitations or advanced features and gave it up in frustration.
In my late teens to early 20s, I experimented with 3D Game Studio.
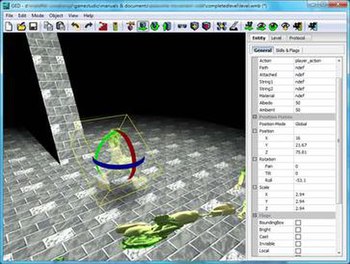
I could create primitive shapes, texture them, and use those objects as building blocks to create a castle out of modular pieces. I could render the map and fly through it, but I had no idea how to use its scripting language. I continued to toy with it for a couple of years, but again, I got discouraged as my imagination outpaced my ability.
In 2014, I picked up GameSalad, and created this website. I had no idea what I wanted to create, so I groped around aimlessly in the dark, bumping into bugs and lacking support.
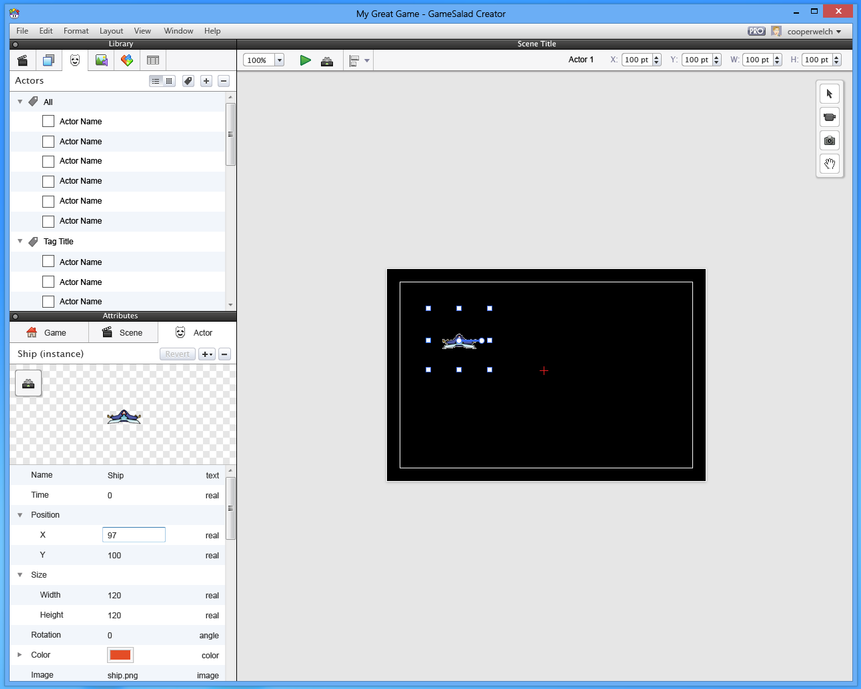
At the time, GameSalad was primarily marketed to Mac users, and the Windows version lacked many core functions. By the time it caught up to the Mac version, they had stopped offering the Standard Edition for free and switched to a subscription model. I didn’t feel comfortable paying for something I wasn’t entirely sure I could learn to use, so I abandoned it and moved on.
I discovered Game Maker Studio in the spring of 2016. I teamed up with my old friend Eric, and we set out to learn the engine. Eric volunteered to do the programming, I would do everything else (artwork, music, design, documentation, project management).
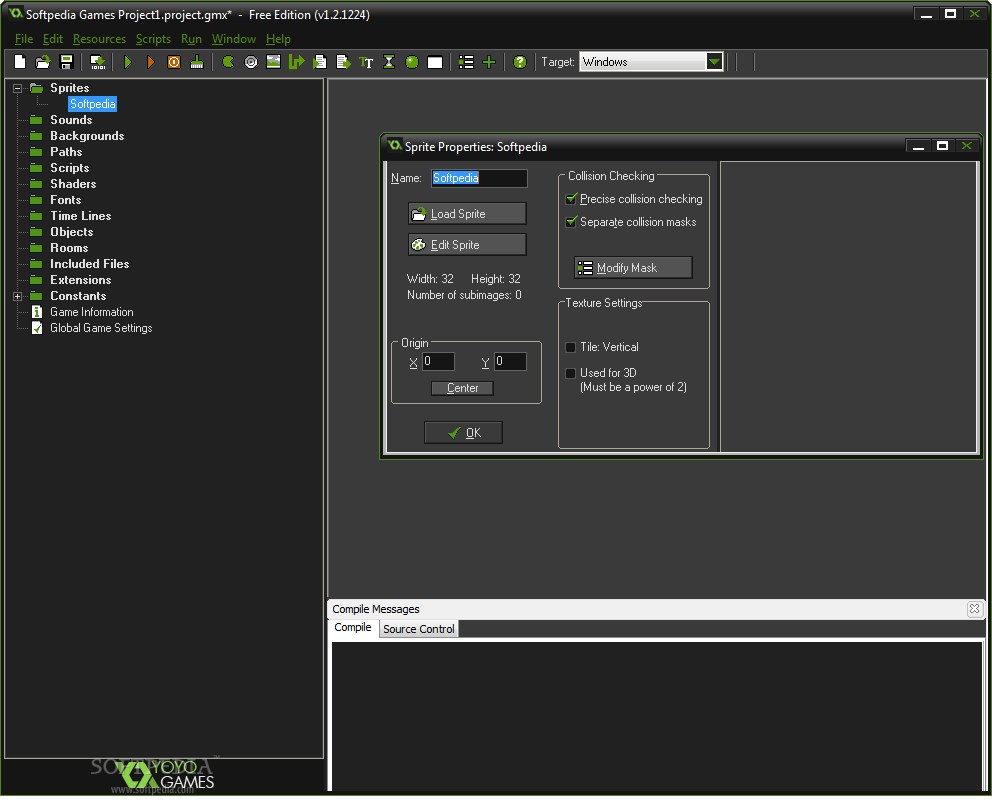
In the early days, YouTube tutorials were our primary source of GMS programming information. Later, I would compare these to “let’s play” videos rather than proper lessons. Thankfully, I eventually discovered John Janetka’s Game Programming Course (GPC). This was a game changer for us (well, me anyway). While the second half of the lessons became disjointed, it was enough to see me through the creation and publishing of my first game.
Unfortunately, I’d run out of time (and money) and had to start working again. Work became all-consuming, and after spending 10-12 hours of skull sweat a day on technical matters, I didn’t have the energy or drive to devote to game programming when I got home. On the weekends, all I wanted to do was sleep.
I tried to pick it back up several times but couldn’t get back into the habit…
When Stars Align
That all changed this year. I have…
- Started a new job with a pension, so now I have a future and retirement to look forward to.
- Rid myself of $117,000 of student debt.
- Nearly paid off my mortgage (8 months to go).
- Lost 43 lbs. of excess weight through diet and exercise, and I am on track to be back to my ideal weight by the end of the year.
I’ve finally reached a point in my life where I can resume my pursuit of game development now that I have the time, energy, and resources to do so.
More to come…